 Chris Osborne Art
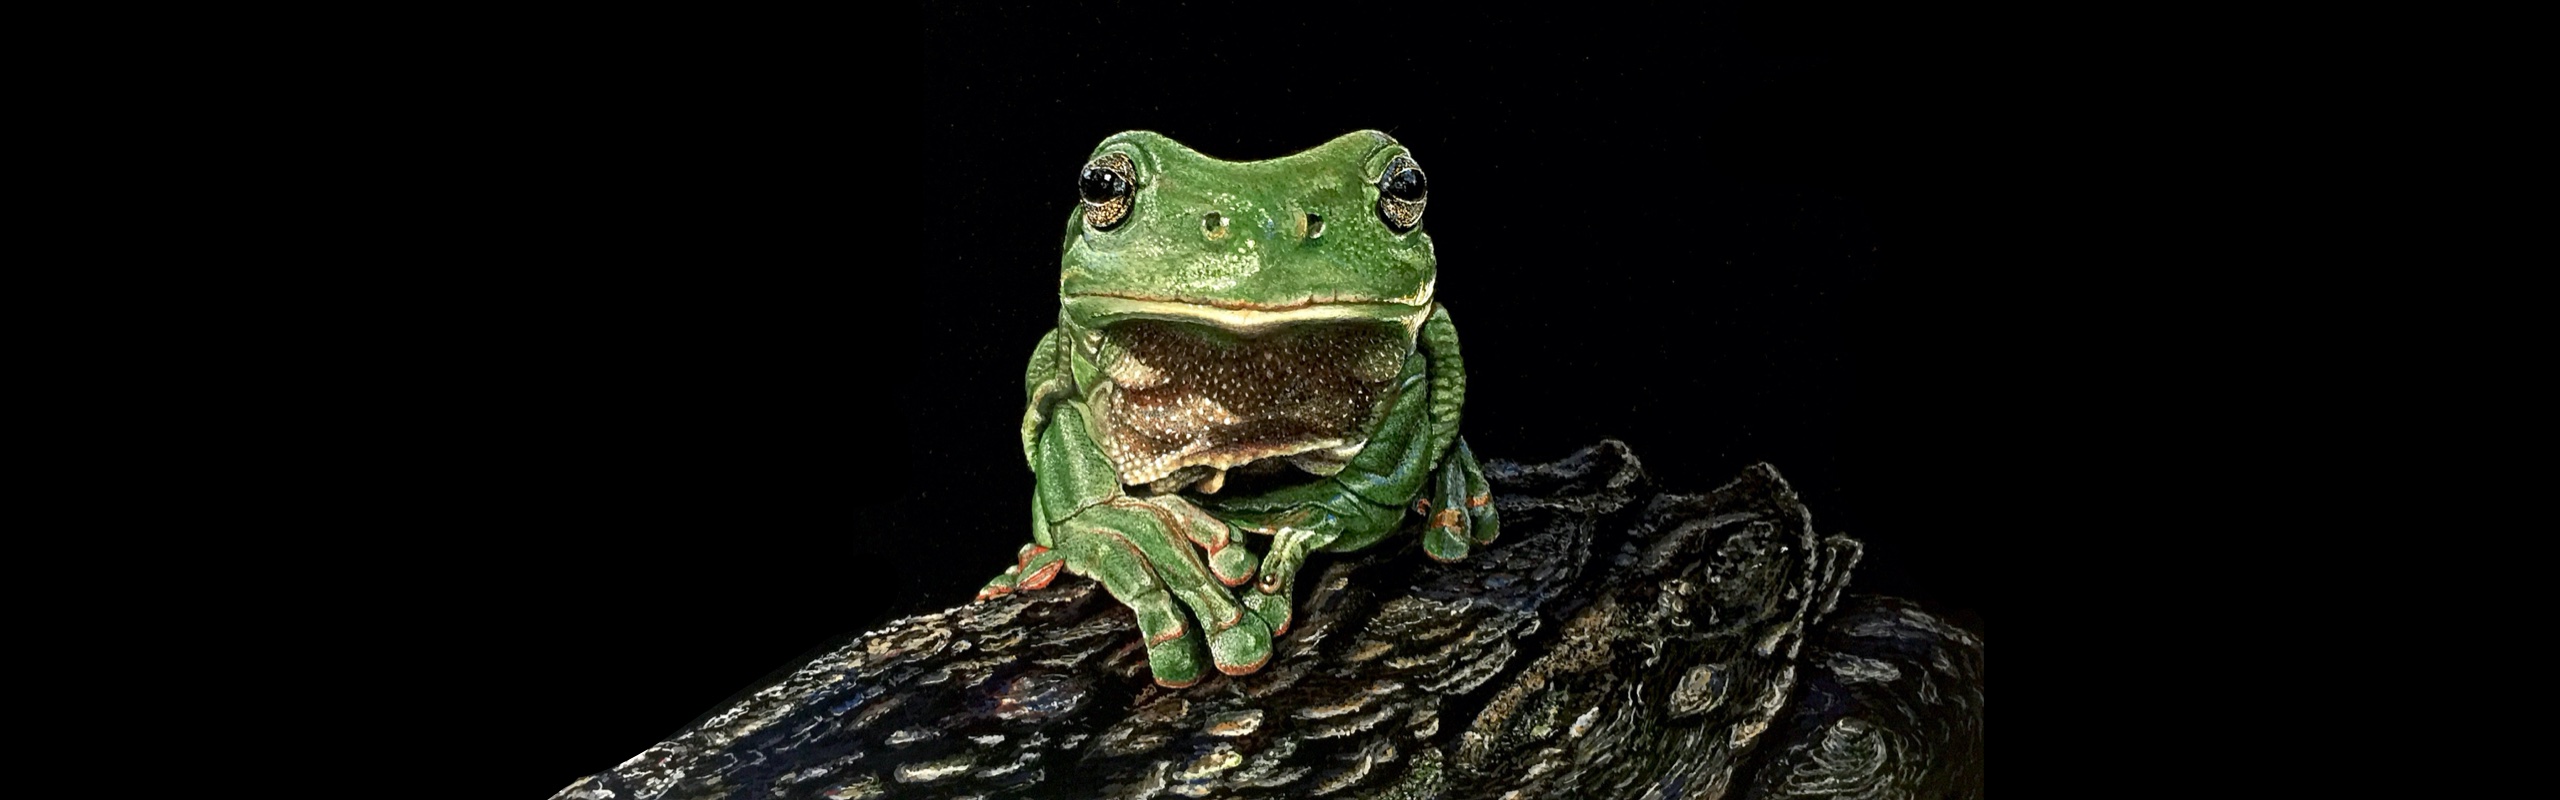
Contemplating Wild Life

The Story Behind the Painting
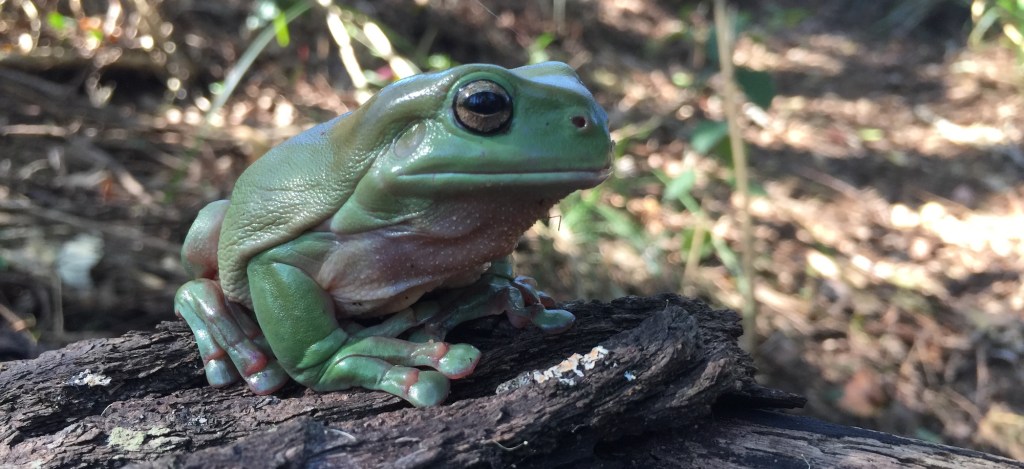
Well what can I say, I just love these little guys and at Chevallan Archery Park, Queensland they are in abundance. They have a wonderful croak and in mating season it’s amplified by the drain pipes and buckets that they hide in. I should definitely do some more night time walking and see if I can spot some different types of frogs to paint.
I have also managed to see lots of them at my mums BnB at Bargara they would often jump onto my window as the light would attract all the bugs and geckos, which is a nice to see them feed.
My Painting Process

Well considering my last blog I had a little bit of a melt down because of things not quite going to plan, to this frog, one of my best works to date.
Learning from my past mistakes, I started off with the background. Something simple, a representation of a log rather than and exact copy of one.
I just wanted to place some colour down so I wouldn’t have a frog floating in mid air.

You always wonder if a painting is going to turn out the way you planned and the first stages always get me a little worried.
I started painting this little guy with a nice undercoat of green with a reasonable sized brush. Then moved down to a very small fine haired brush as I observed the frogs skin wasn’t flat at all, it was made up of tiny little bumps and depressions.
To simulate this I painted lots of tiny little dots next to each other. I started simply by painting section of colour that was either a darker green or lighter green.
Next I added a little brown or yellow to the green, changing slightly each time.
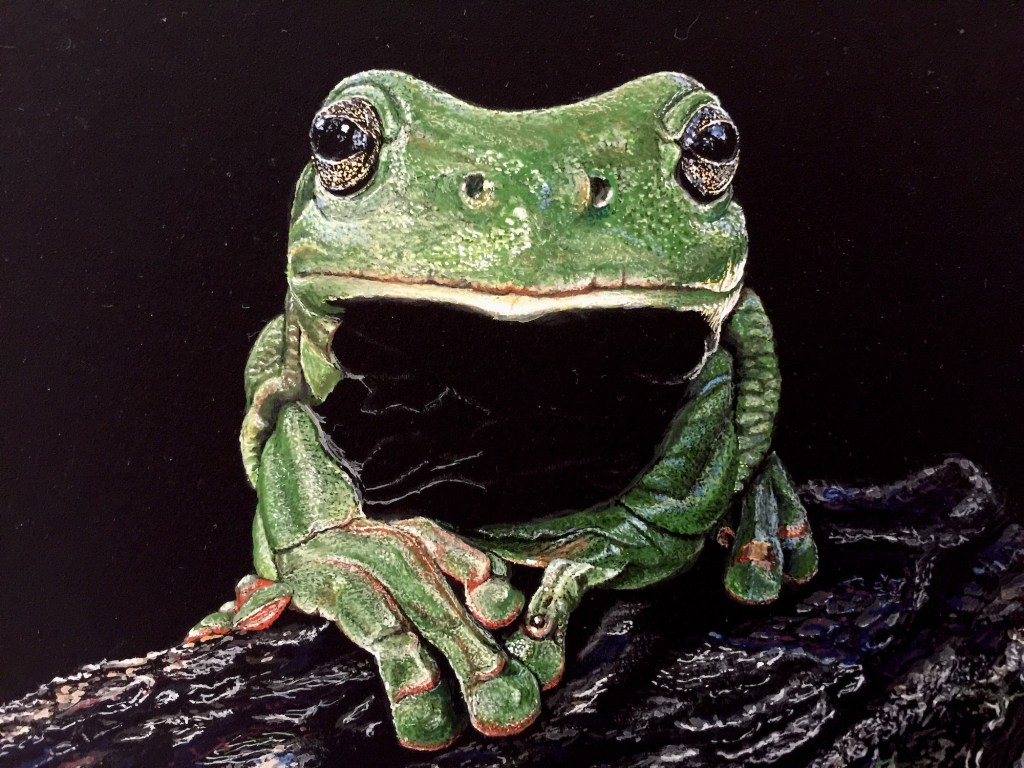
The eyes of any animal always make the painting come alive and a frogs eyes are wonderful to paint. They are almost a golden colour with black specs.
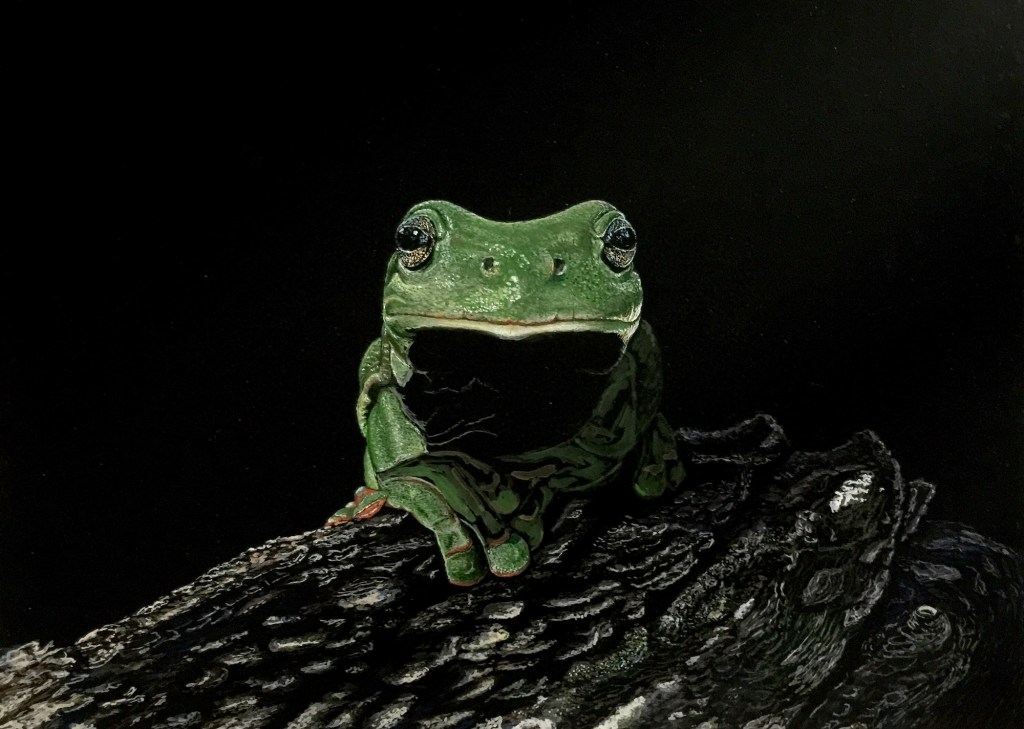
I was amazed at how life like the frog was, and I think it is enhanced by the black background, something that I’m loving painting on.
You can see what a simple shade of green I start with if you look to the right side of the frog, or the second finger.
The fingers and toes of the frog seem to have a little bit of orange on the tips. I must admit I added a little more than was in the photo because to me it seemed to enhance the toes.
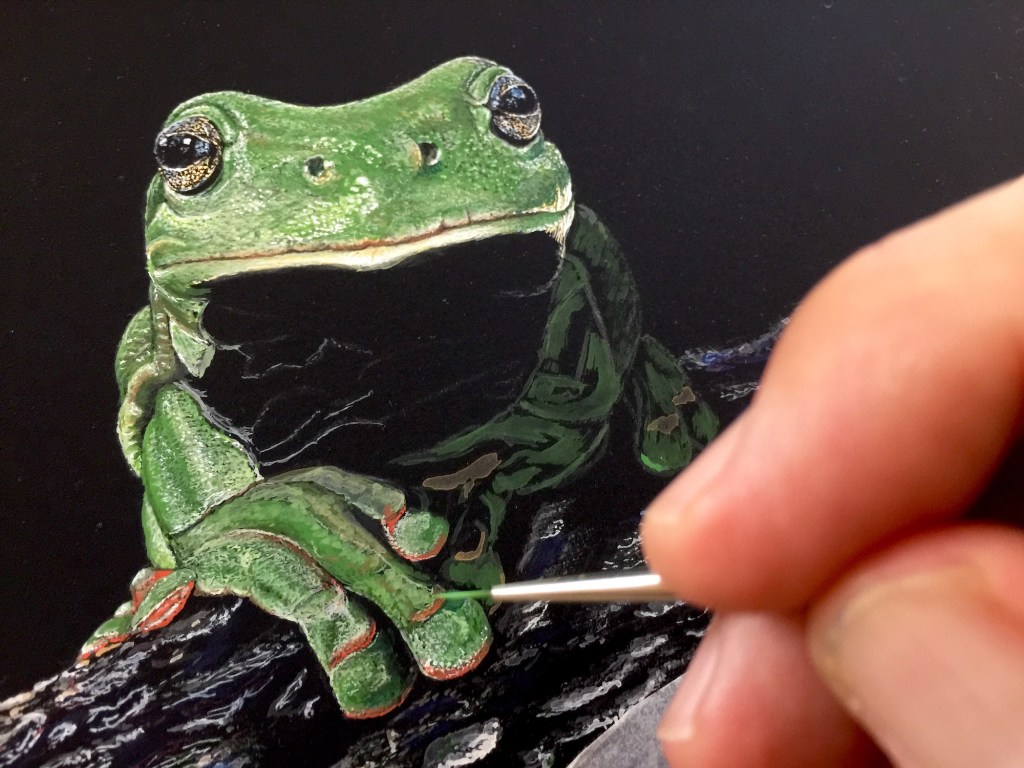
Here you can see the fine brush I’m using for most of the painting to create the little bumps.
I noticed that the frogs lips were a little wrinkled and I exaggerated them to give the frog more character.
To give the frog a little wet look I always add white straight from the tube on a very clean brush. I should invest in a brush just for white I think that way I’ll never contaminate my tube.
Considering this little guy is only small it’s taken me about 3.5 days to get to this stage. It’s amazing where the times goes when you paint super tiny little dots, always changing the colour slightly.

I think the throat was the hardest part of the frog followed by the lips.
I found so many different colours and reflected light in the throat it wasn’t funny. I’d see yellows, oranges, greens, blues, blacks and creams.
Last thing I did was extend the bits of bark up to the frogs feet and then add some shadows. I also removed some distracting white patches on the far right side of the log.
Then a quick once over and added more droplets of white to create more of a wet look.
I also got to use two new colours, Oxide of Chromium and Naples Yellow.
This was supposed to be my show piece of my exhibition next year and wasn’t for sale but my cousin messaged me 30mins after I posted it on social media asking to buy it for a birthday present.
At 4am I decided since she was family I would sell it if she could wait till after my exhibition or until I painted something equally as good. And as they say that’s another blog, frog number 2 coming tomorrow.
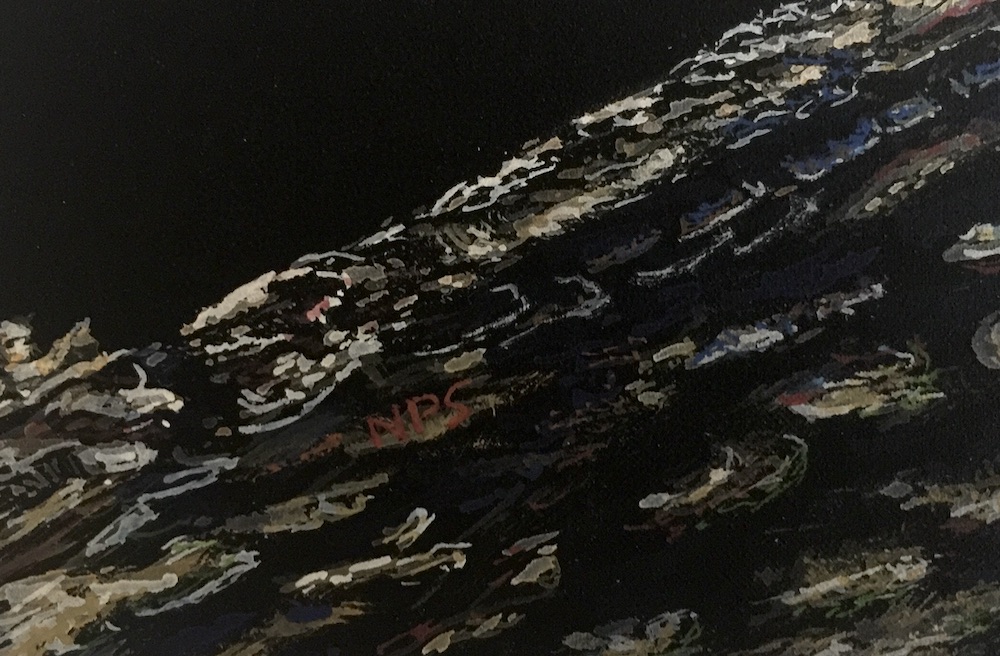
Keeping with tradition I’ve added my cousins initials to the painting, NPS. Note this can only be done if the artwork isn’t already framed.

After I finished this frog, it got me thinking that I could call this my Black Label Collection. A range of artwork with more detailed realistic looking animals in professional framed in gallery glass or invisible glass as it’s sometimes called.
This is to cut down on reflections as the black background almost acts as a mirror not enabling you to see the artwork properly.
Gouache Colour Palette
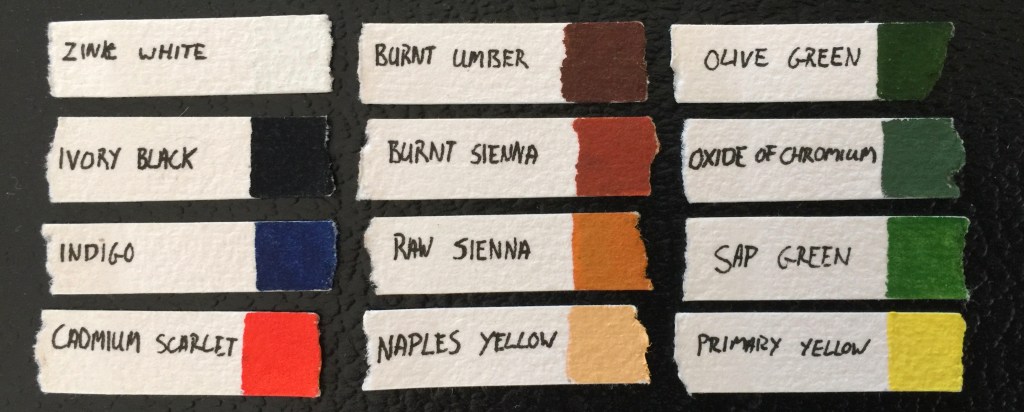
For my Black Label collection I use Winsor & Newton Gouache on Black Mi-Teintes Touch Pastel Card.
My painting come from my own experiences that I have lived and photographed while traveling. By reading this blog, you as a viewer can now hear The Story Behind the Painting. Where, when, what was happening while I was photographing the wildlife.
If you want more details about my adventures checkout my travel blog website www.ChrisOsborneAdventures.wordpress.com
Enjoy, Chris Osborne

I really enjoy reading how your paintings come to life, the brushes you use the colours you use etc
I picture you doing the paintings and it always makes me smile, very proud of your achievements
LikeLiked by 1 person
Thank you, I can’t believe how much I have achieved this year once I sit back and see all my paintings
LikeLike
Pingback: Painting at Possum Park Miles – Chris Osborne Adventures
Pingback: Stalking Through The Night | Chris Osborne Art