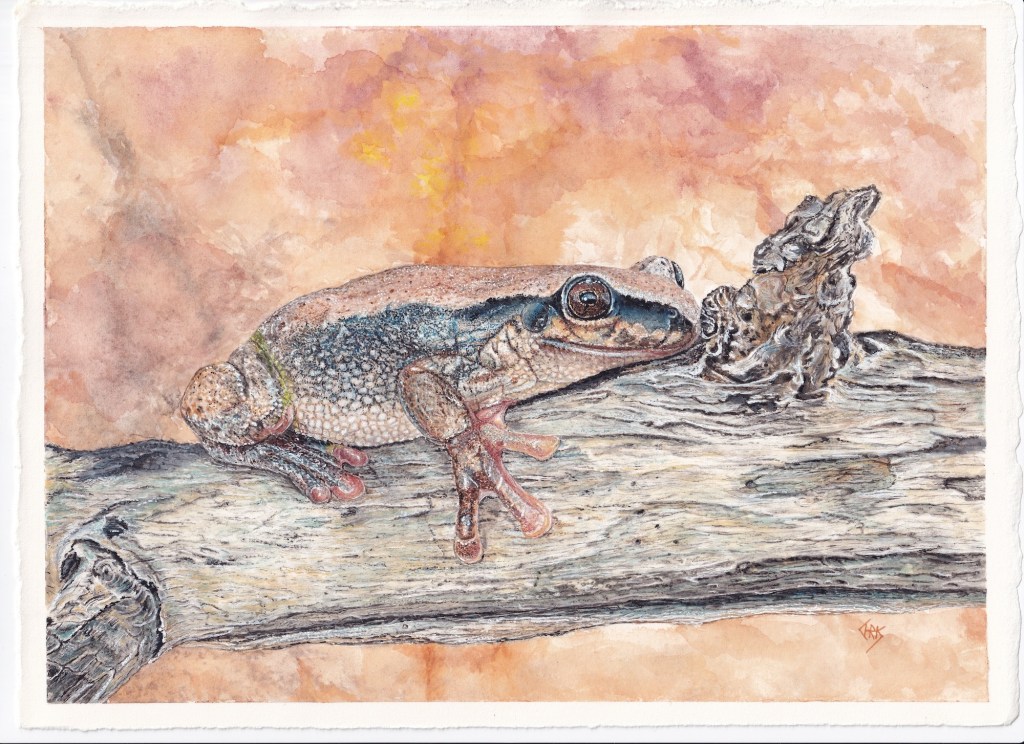
Naked Tree Frog

The Story Behind the Painting
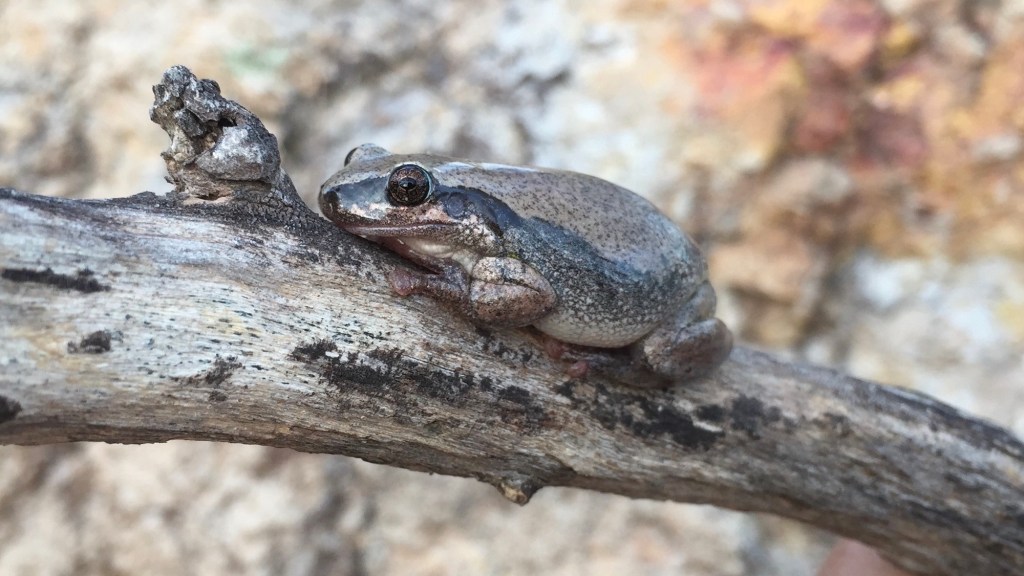
This little guy was found in the BBQ area sink, so I placed it on a stick took a few photos then moved it under some bushes away from the birds. It was rather exciting as I hadn’t seen this type of frog before, even though its a rather common one in Queensland.
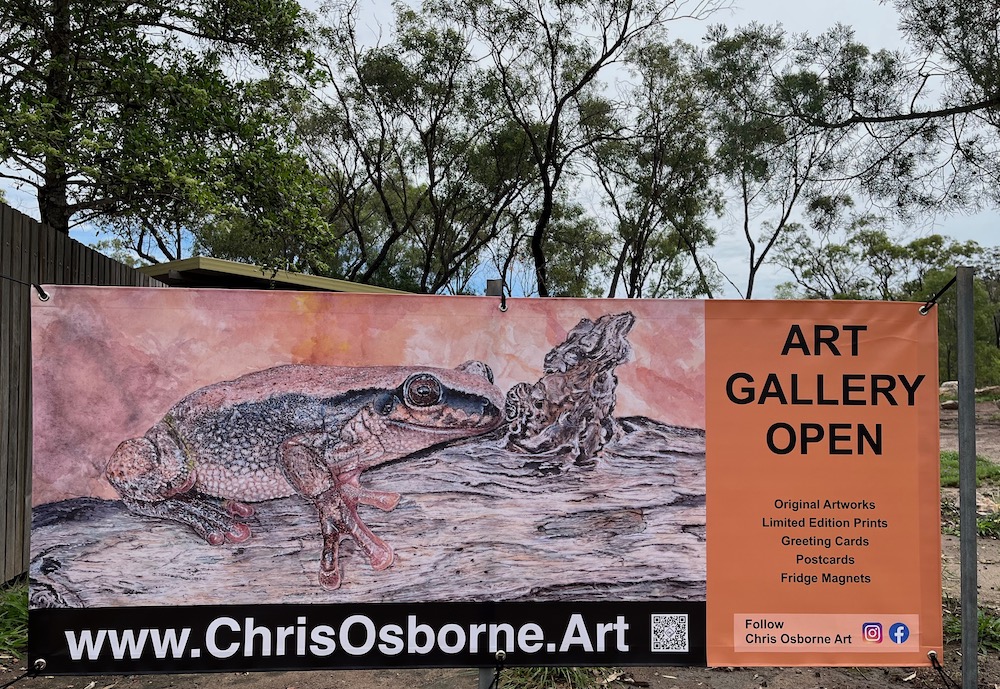
This little frog now is now proudly displayed in the front of Possum Cottage and welcomes people into my art gallery and shop. Because of the very fine detail, I was able to enlarge the artwork significantly onto this large banner. I will definitely be sad to see the original artwork sold but this way I’ll still have a copy to see for a while.
My Painting Process
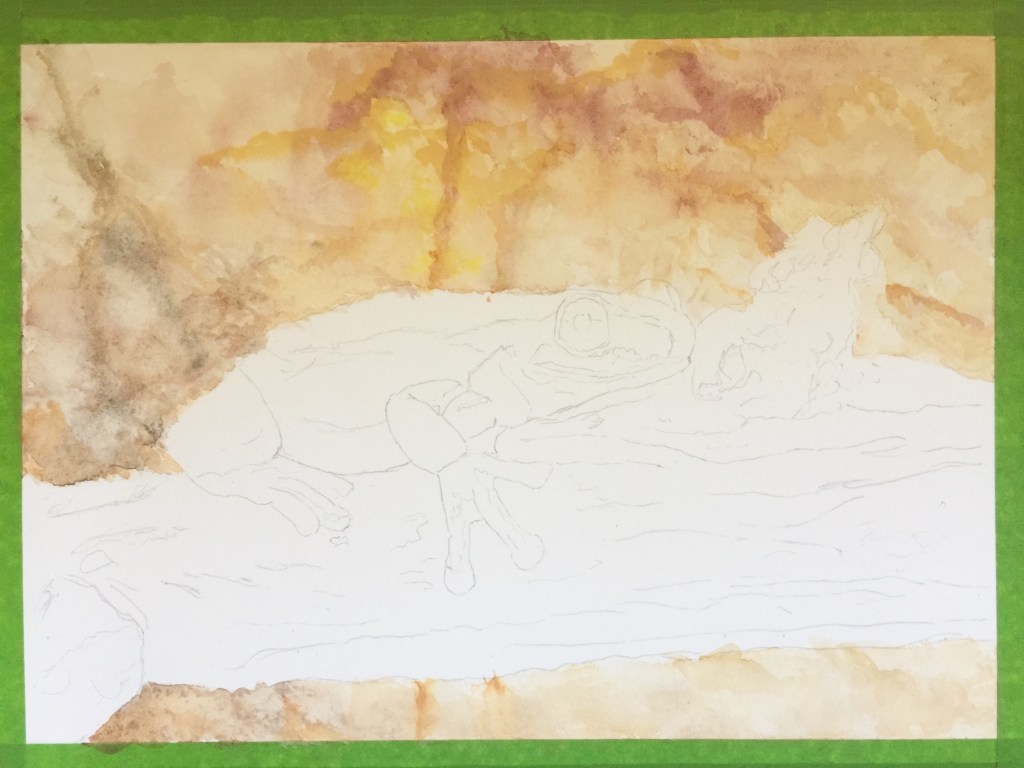
I love the background on this artwork, an out of focus bush rock with some amazing colours.
I started by saturating the watercolour paper and painting with a very diluted paint watching it bleed into the paper. Because the frog was rather dark I wasn’t too careful painting close to the edges.
I should have been more generous with the water as it dried too quickly on a rather warm day and I didn’t get the soft look I was after.
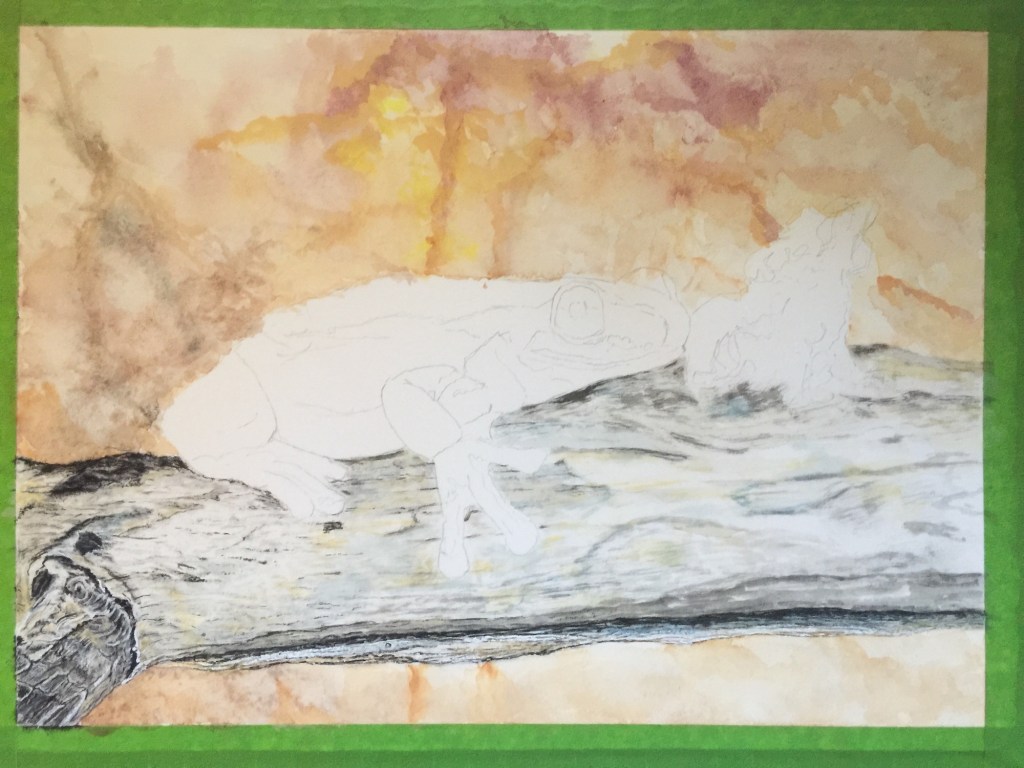
Now to start painting and undercoat of the stick, as you can see I have just completed a small section of the stick on the left hand side.
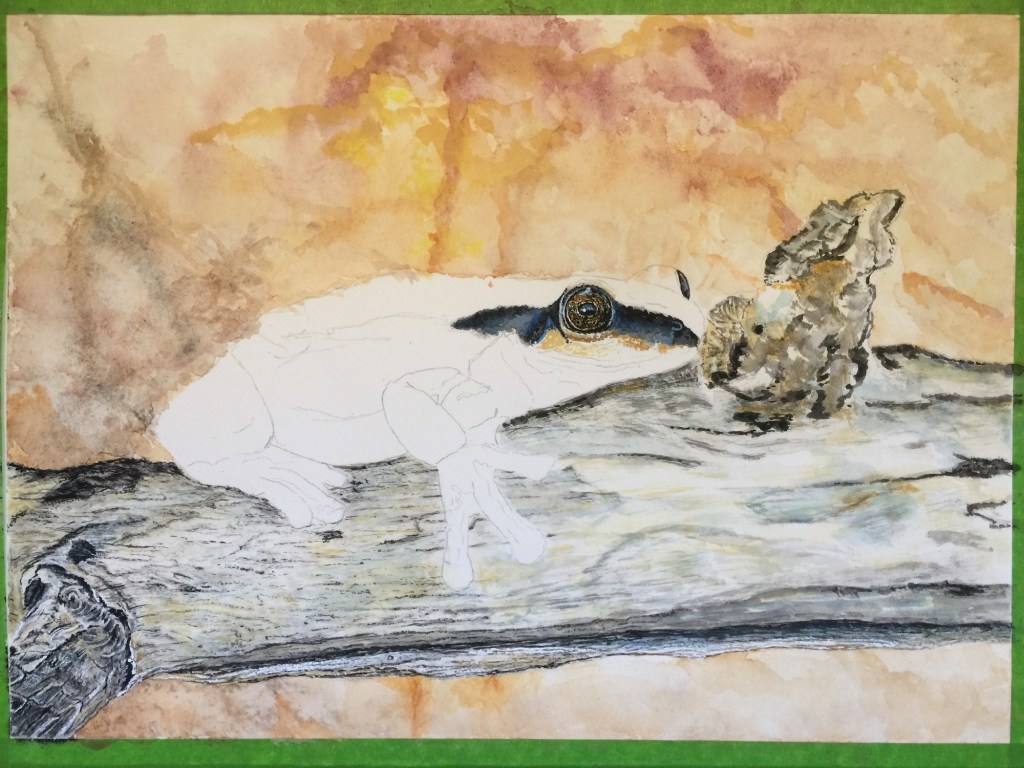
I loved so many aspects of this painting I couldn’t quite decide which part I wanted to paint next. So I did a little bit more on the stick then I got suck into painting the frogs eyes.
Now I was hooked on the frog once major parts of the artwork start looking photographic. A little bit of white and blue and all of a sudden the frog starts getting a wet look. The little hands start looking so delicate and have a slight pink look to them.
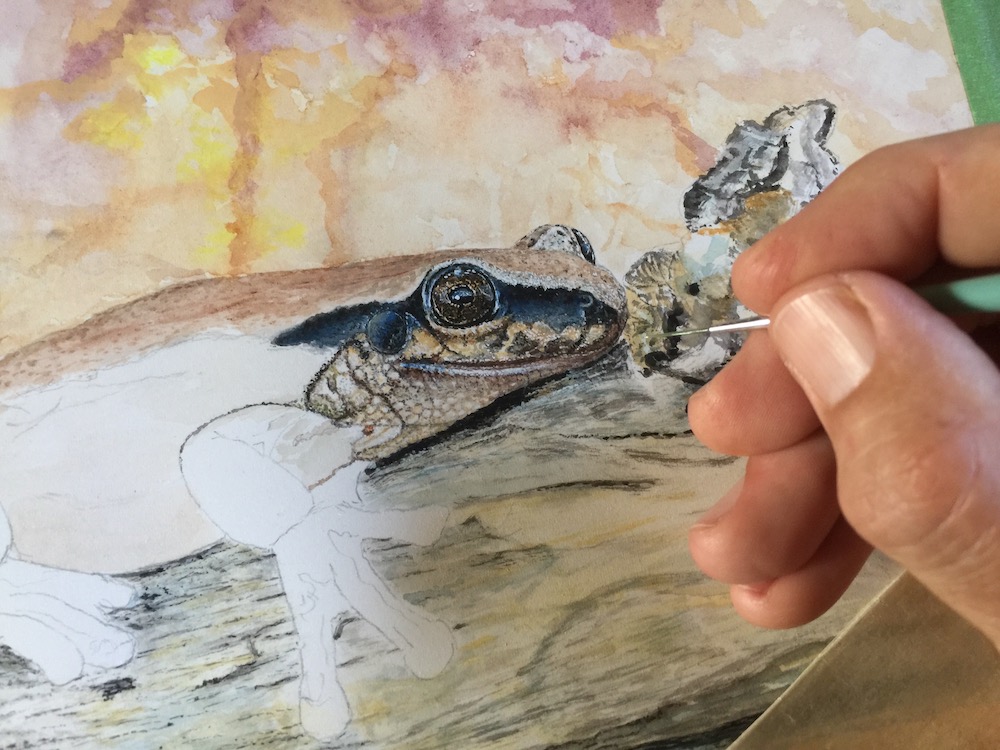
Close up showing some of the fine details and a very fine brush. This is before I got to use my even finer birthday brushes I bought myself.

I often get asked how do I get so much detail and its just time and fine brushes. I start by painting a section of the frog and look at what I have just painted and think can I create a smaller brush stroke or dot.
95% of the time just by using a smaller brush will give you finer details and if you want even more details use less water.
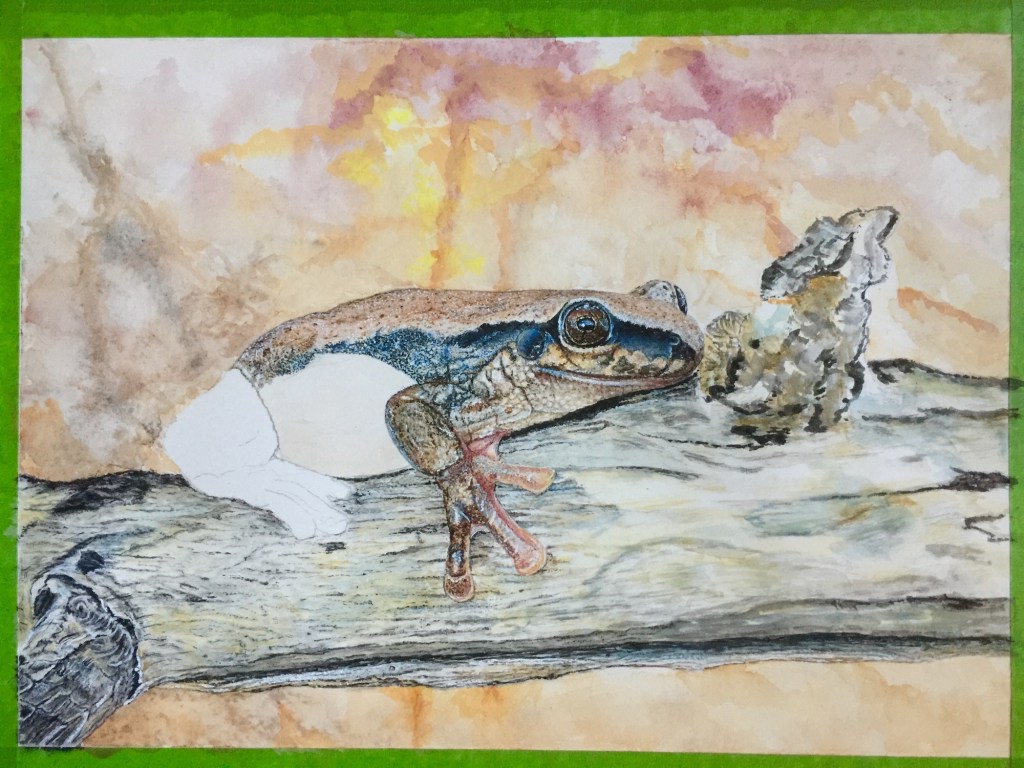
So another few days and I gradually finish the frog constantly looking at the frog in sections to get the details and then as a whole to get the correct colour. Once I think the frog is finished I just add a few bits of colour scattered over the whole frog.
As an example I added a little bit of green to all the legs nose and back and a similar pass with light brown.
Last to finish off the artwork was the rest of the stick, I think this took another whole day. The whole painting took around 50hrs + over 9 days which is rather a lot for one of my paintings on white paper. I normally only spend this much time on my black label artworks.
Gouache and Watercolour Paper
I use Winsor & Newton Gouache on Arches France Watercolour Paper, 300g Hot Pressed.
My painting come from my own experiences that I have photographed while traveling. By reading this blog, you as a viewer can now hear The Story Behind the Painting. Where, when, what was happening while I was photographing the wildlife.
If you want more details about my adventures checkout my travel blog website www.ChrisOsborneAdventures.wordpress.com
Enjoy, Chris Osborne
