 Chris Osborne Art
Cradle Mountain Sketch: A Journey Through Art

The Story Behind the Sketch
Checking my photos, I realised I traveled to Dove Lake at Cradle Mountain back in October 2006—wow, it feels like just yesterday, or more accurately, like I’ve aged almost two decades since then! I was there for about ten days and fell head over heels for the place, with hiking trails that could make a mountain goat question its life choices. A few years later, planning to pop the question on top of Cradle Mountain, I discovered that my partner couldn’t make it to the summit—maybe the mountain was making sure I didn’t mess things up too badly! Who knew nature had a hand in relationship drama? I’m still single so if anyone wants to go hike beware of mountain summits.
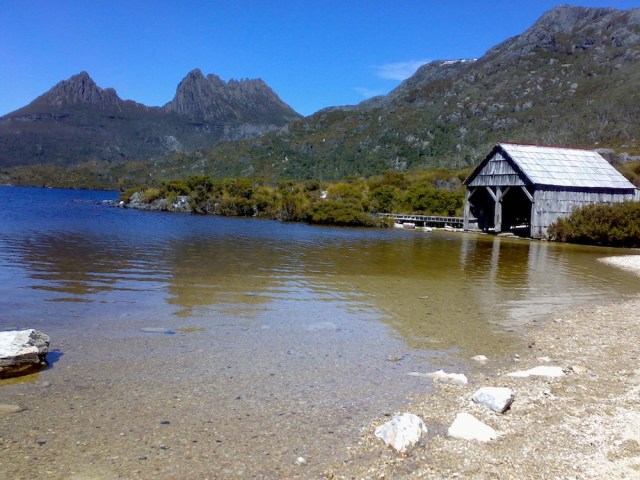

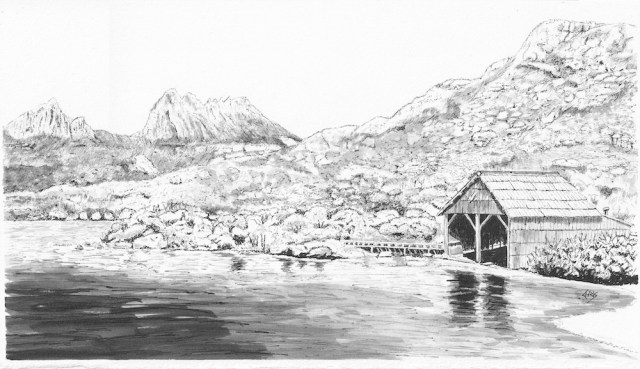
Little did I know that 20 years later, I would be confidently commissioned to create a larger artwork based on the piece I had previously sketched back in 2025.
My Sketch Process
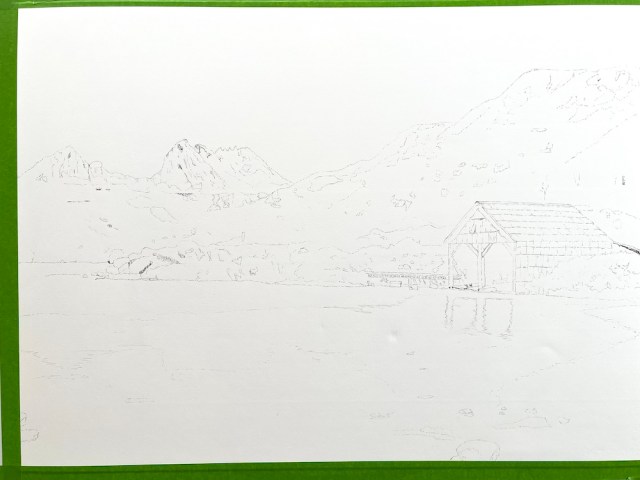
Stage 1. Pencil and ink outline
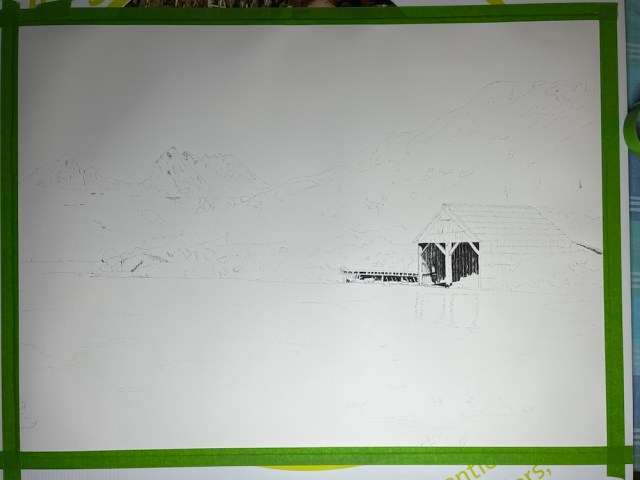
Stage 2. Start sketching with something familiar.
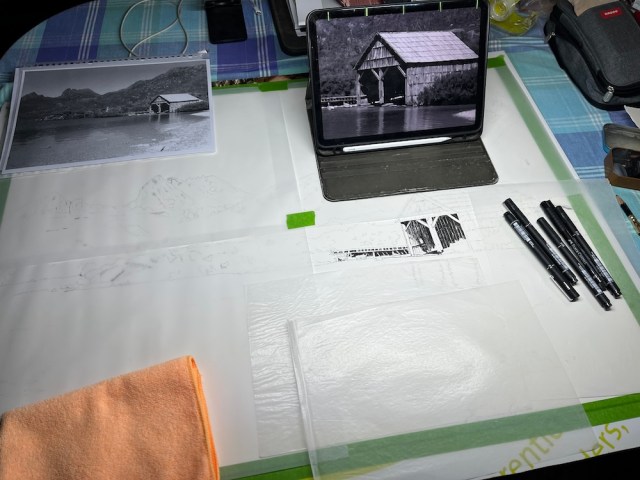
Stage 3. Lots of glassine paper protecting the artwork at all times, apart from progress photos.
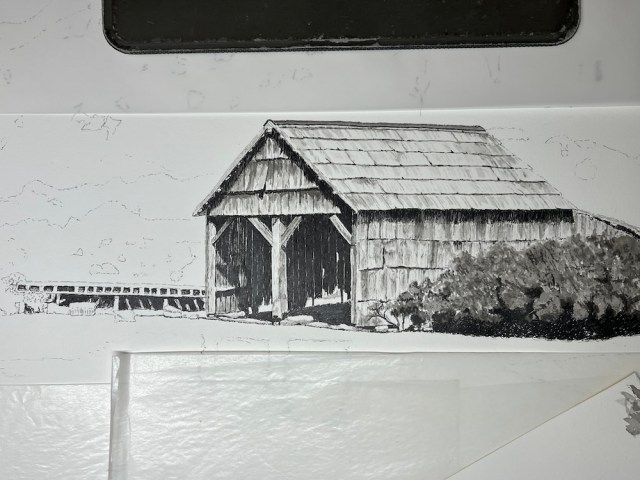
Stage 4. A lot more detail was achieved in the boat shed with the larger scale artwork.
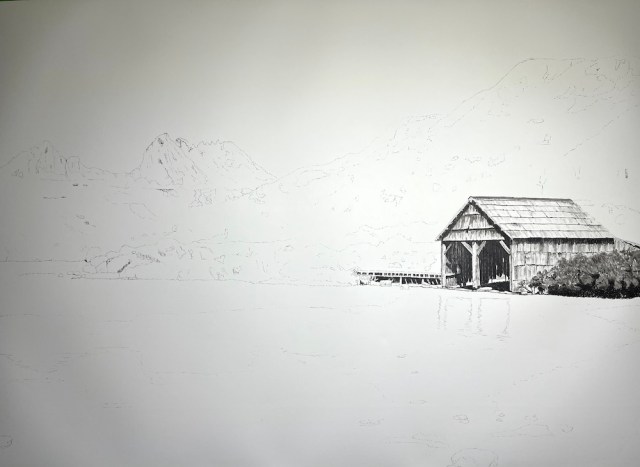
Stage 5. Lots of interruptions at possum park created a slow progress.
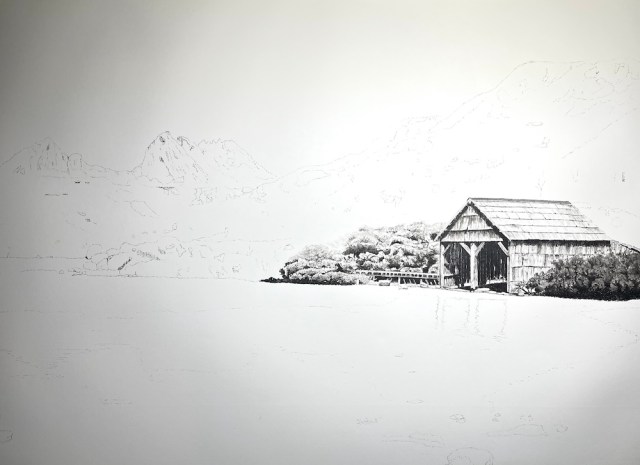
Stage 6.

Stage 7. I snagged a new workstation to make my life a bit easier since the desk in my art gallery was way too small for my new commission. Plus, there were just too many things going on that I couldn’t control in the gallery. And honestly, people just love to get all touchy-feely, with the art not me.

Stage 8. I use the iPad and a hard copy of the photo to work from. You can also see the little scratch pad I use to test the strength of the ink before I make a mark on the paper. The trouble with ink is you can’t make mistakes. Well more accurately you can easily make mistakes, you just can’t fix them.

Stage 9. Mixing it up a little with the boulders, first I created ink washes then I created some line work. Which is opposite the way I created the boat shed. First Line work then I added the ink washes.

Stage 10.

Stage 11.
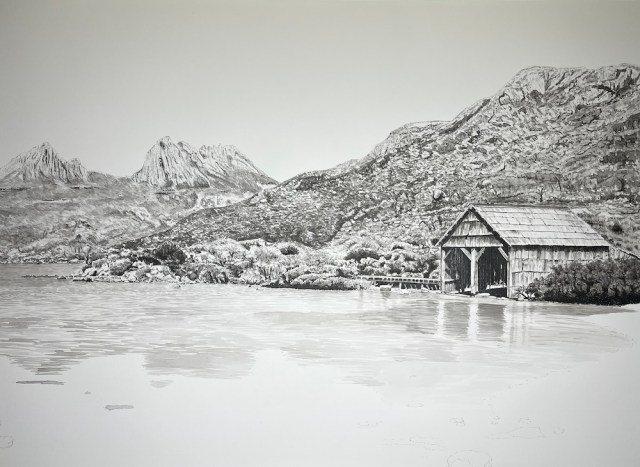
Stage 12.
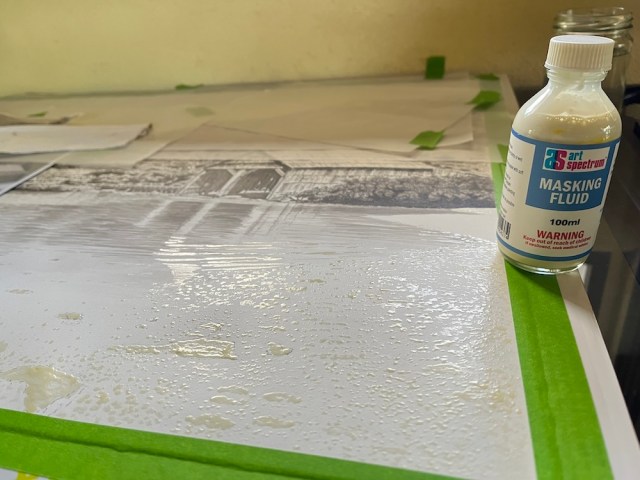
Stage 13. Applying masking fluid with a brush on to the watercolour paper. Wherever there is masking fluid the ink won’t interact with the paper. Once masking fluid is removed this should create some white areas that will look like stones under the water, fingers crossed.
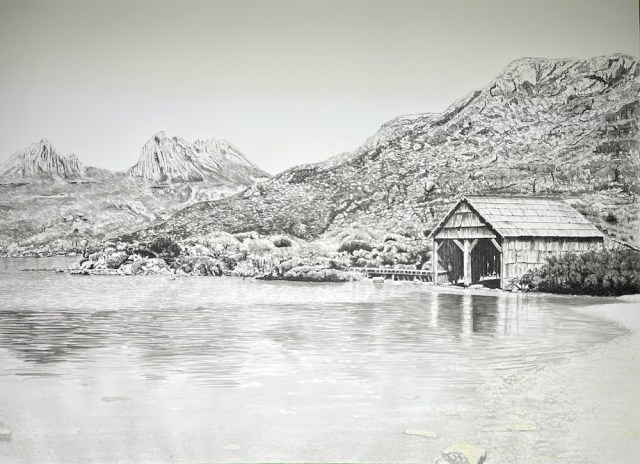
Stage 14. Painting a light wash over masking fluid. You can see the masking fluid has a slight yellow tint so you can see it.

Stage 15. About 40mins removing masking fluid to reveal white stones.

Stage 16. White stones after masking fluid removed.

Stage 17. The base of each stone I added a little grey tint and some shadows, along with various black and grey stones. I also added a few more ripples on the water and some more line work.
Finished artwork
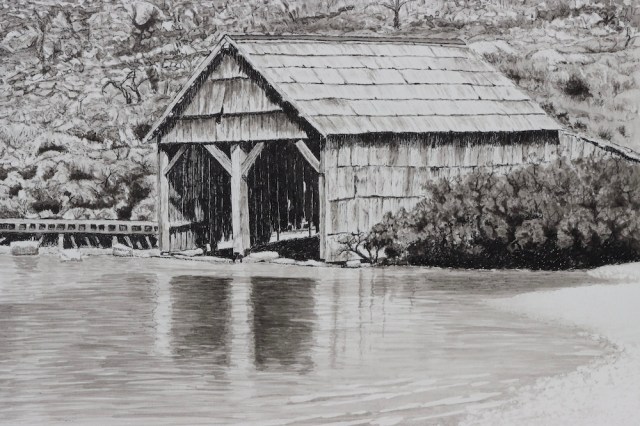
Stage 18. Close up of boat shed

Stage 19. Close up of Cradle Mountain.

Artist Chris Osborne proudly displays the finished artwork. Next came the six hours spent diligently working out all the rules and regulations for shipping to the states, alongside setting up the necessary accounts.
Then came the moment I had been anticipating—rolling up the artwork for shipping. After watching numerous YouTube videos, I discovered that rolling a test sheet of watercolor paper around a small tube with glassine paper is the most effective method. I only wish I had learned this sooner; it would have saved me three weeks of sleepless nights worrying about the process. It’s all part of the experience—live and learn.
Hidden Initials & Images
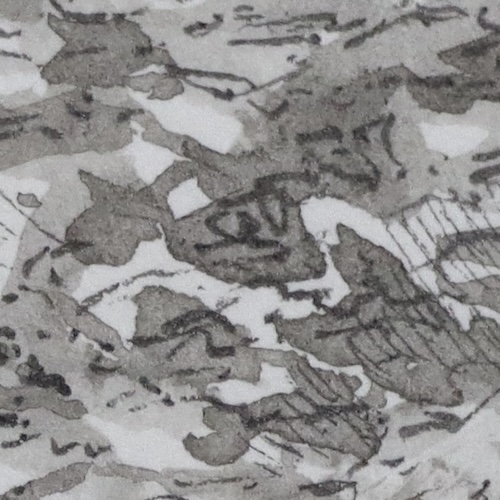
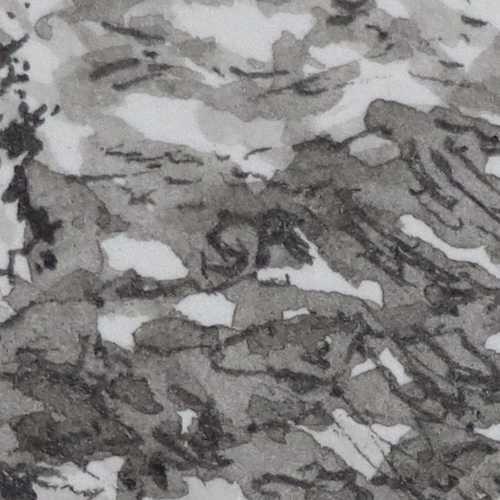
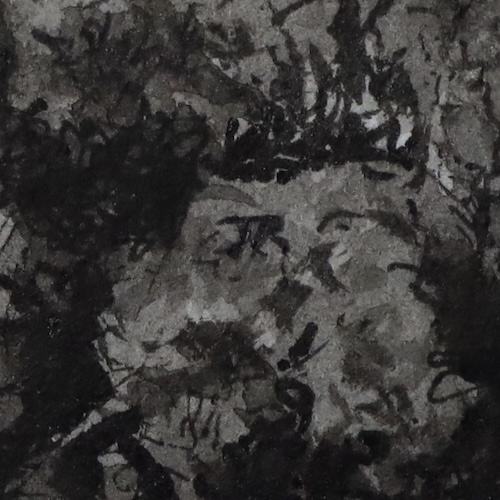
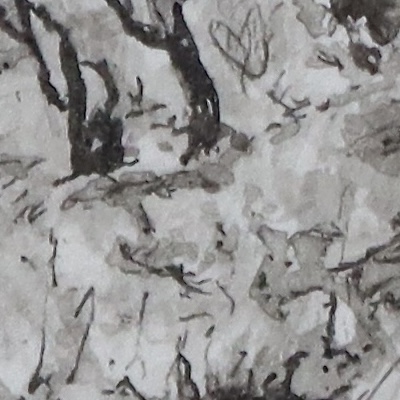
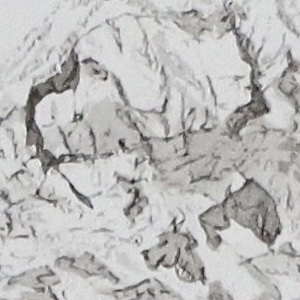
When commissioned for an artwork, I make it a point to cleverly hide the client’s initials within the piece. The larger the canvas, the more creative hiding spots I can find. Interestingly, when I first concealed the initials SR, I completely lost track of their location, prompting me to craft a second, slightly enlarged version. As I rapidly sketch lines to create rocks and bushes, they occasionally resemble objects or animals by chance. In such cases, I simply add an extra line to shape a dog’s or goat’s face. Ultimately, I trust that the owners will delight in uncovering these hidden treasures.
Ink & Paper
I use Uni Pin Fine Line Pens 0.05, 0.1, 0.3, 0.5, 0.7 and Winsor & Newton black ink on Fabriano Watercolour Paper, 300g Hot Pressed.
Enjoy, Chris Osborne


This is fascinating, Chris! We love seeing all the steps involved with creating this beautiful masterpiece!
Thank you for accepting the challenge of creating this much larger version of your original piece. We are honored to display this in our home!☺️
LikeLiked by 1 person