 Chris Osborne Art
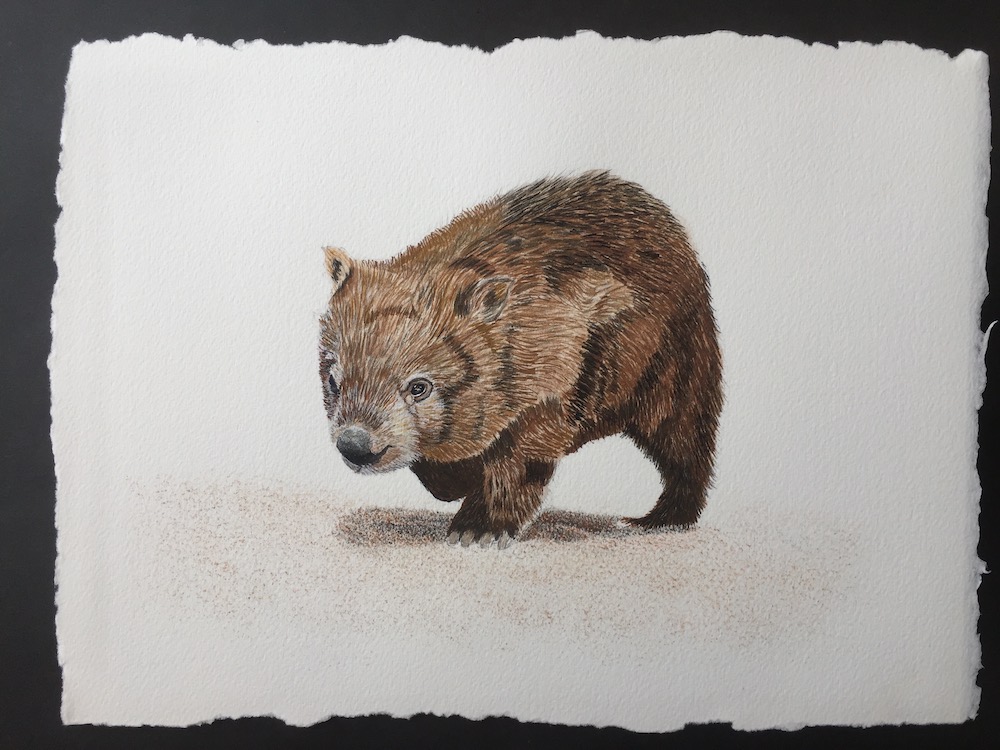
Burrow the Wombat

The Story Behind the Painting
Just after I photographed this wombat at Australia Zoo, he came racing down the hill to a gate. I thought he was going to be fed by his speed, to my surprise he was going for a walk, so I managed to get a much closer encounter than I was expecting.
I also found out the wombats name was Burrow, well that’s what the leash was called.

My Painting Process
I’ve started to enjoy painting fur and don’t see it as such a daunting task anymore, this still however requires a lot of time and patience to complete. Compared to my first squirrel painting that now lives in Germany, I have come along way with far more detail because I’m using 5/0 professional brushes.
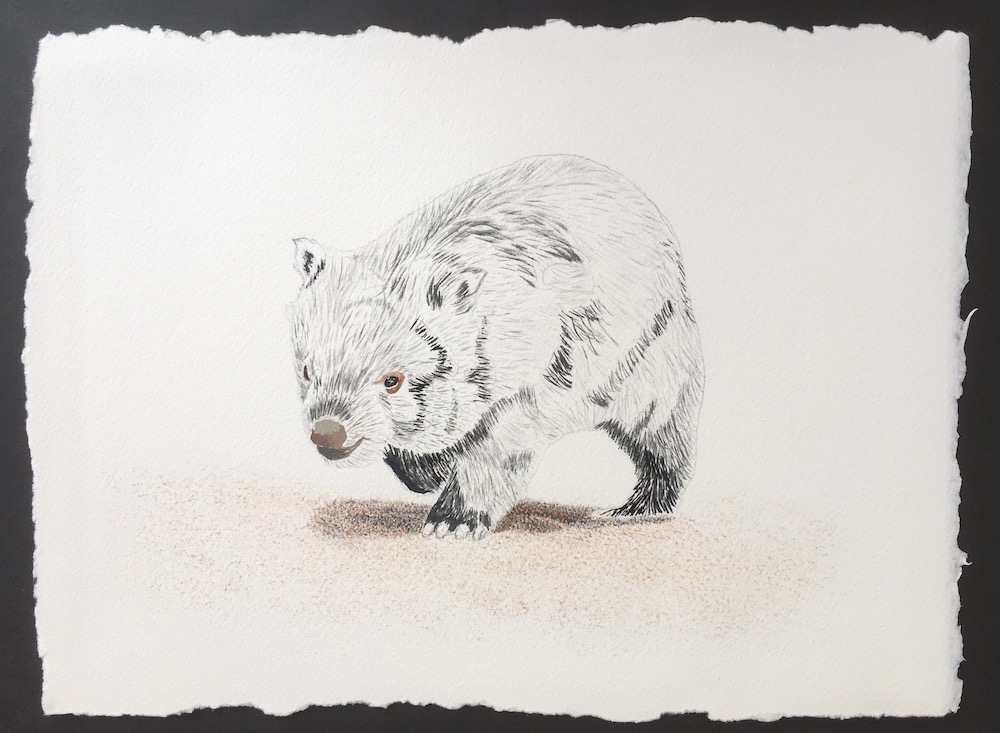
So let’s begin with the art work, I’ll talk you through start to finish. After the initial pencil outline I wanted to try out a textured sponge I bought from the art store while in Sydney.
I had a quick read of the instructions and my test strip was way to wet and didn’t look at all convincing. I then painted the sponge and dabbed this onto the Archers paper with much better results.
Then I used a fine brush to add a few more darker tones under the wombats belly, this will later be re touched once the animal is complete.
I always try and start with the eyes, then I added some of the darkest areas with black gouache to get a feel for some of the patterns in the fur.
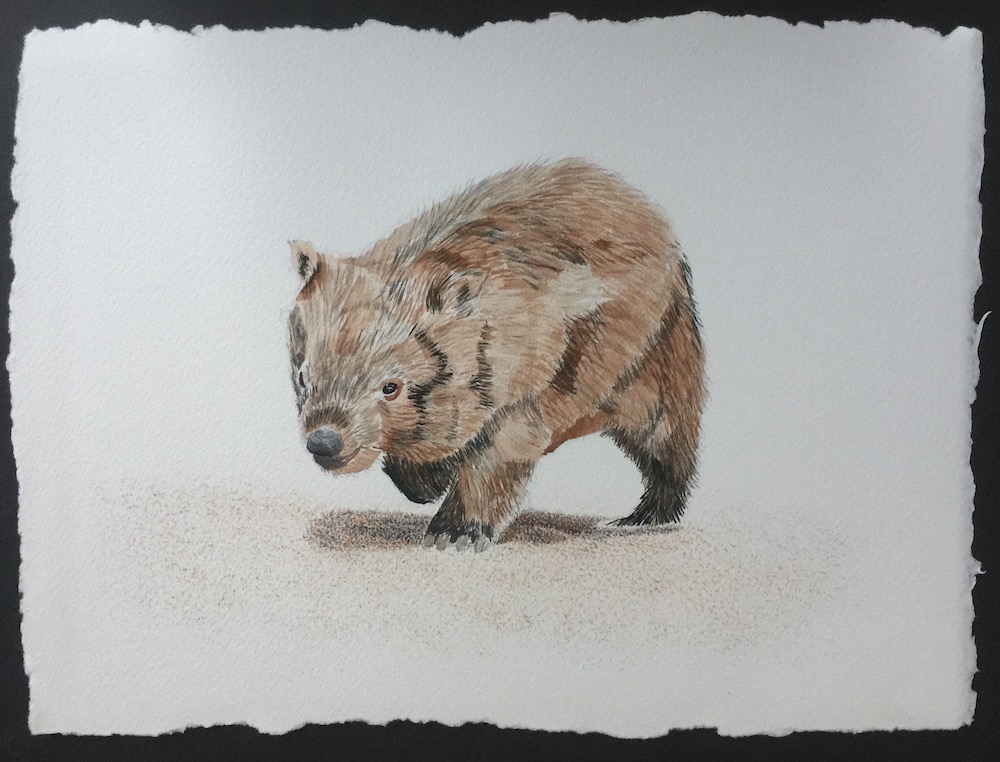
Next I give Burrow a brown wash to give him some volume.
I recently read that you paint the animal in the darkest shaded areas, then add layers of fur getting lighter with each pass, so I thought I’d give this a try.
This was very hard for my brain to cope with, as your trying to paint the shadows in-between the fur and not the light fur that matches your photograph.
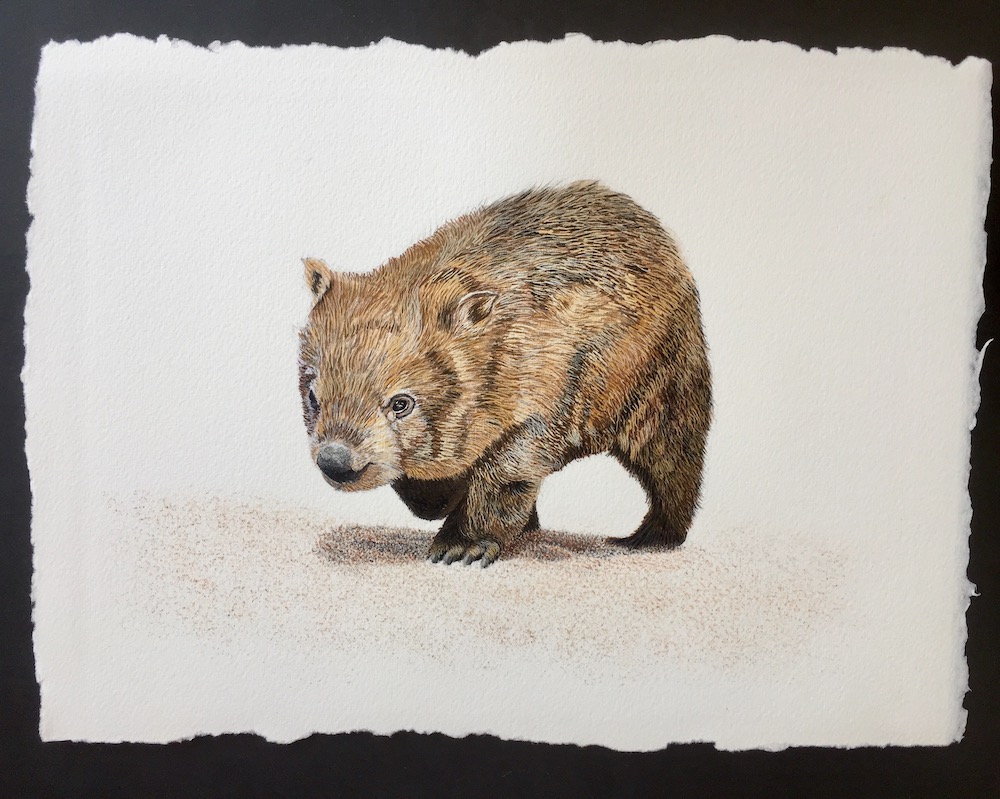
Starting at the back legs then working up the body to the front of the animal, because each hair lays on top of the one underneath so you try and paint the way nature flows. Burnt umber, neutral grey and raw sienna were used at this stage.
I also added a small strip of back leg so he didn’t look like he was missing a limb.
Next I paint another pass from the back legs to nose using a raw sienna and zinc white.
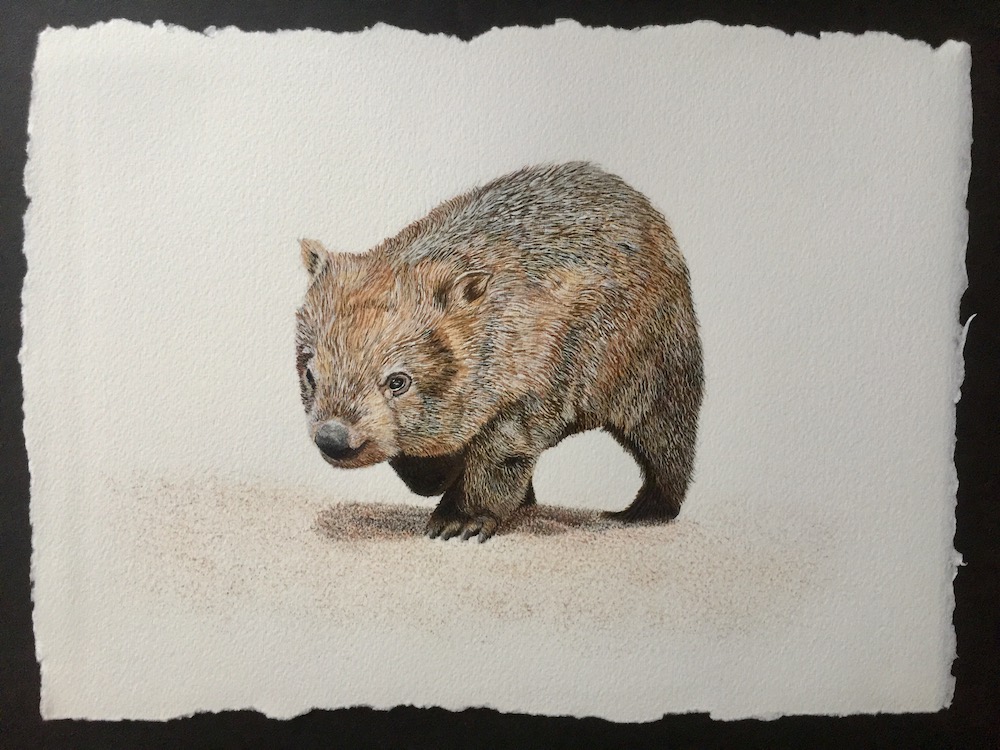
The wombat is starting to look much closer to my photograph now.
I lose count of the amount of passes I paint, but you keep lightening the fur from the back legs to nose using lighter paint each time and adding a few more shadows. Also I added some fur on his under belly so he doesn’t look shaved.
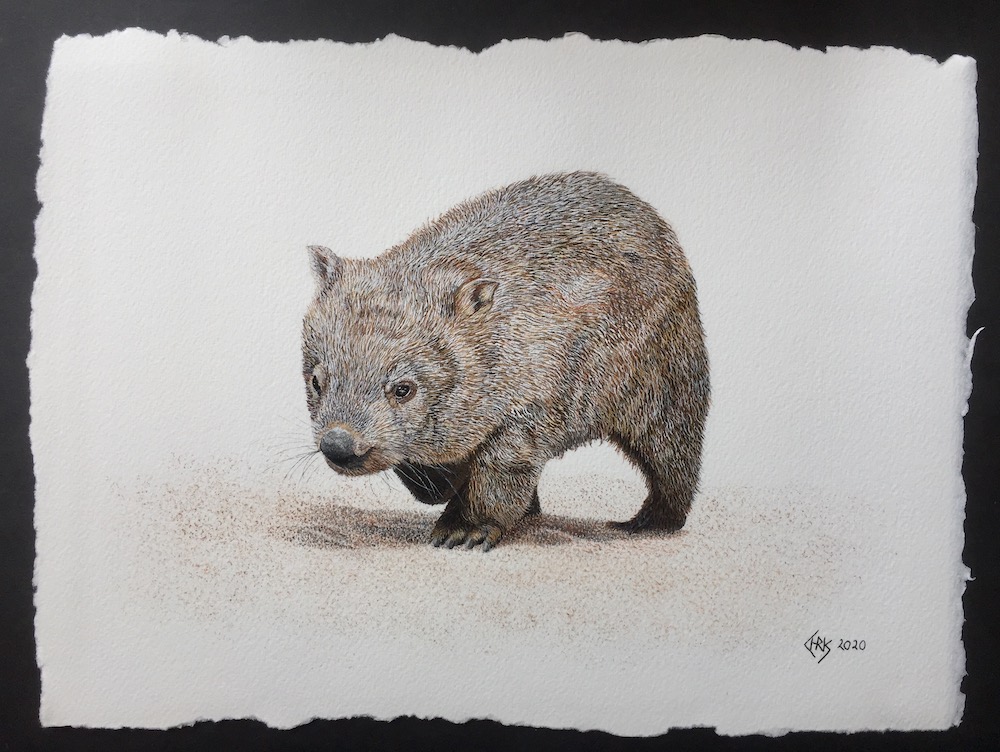
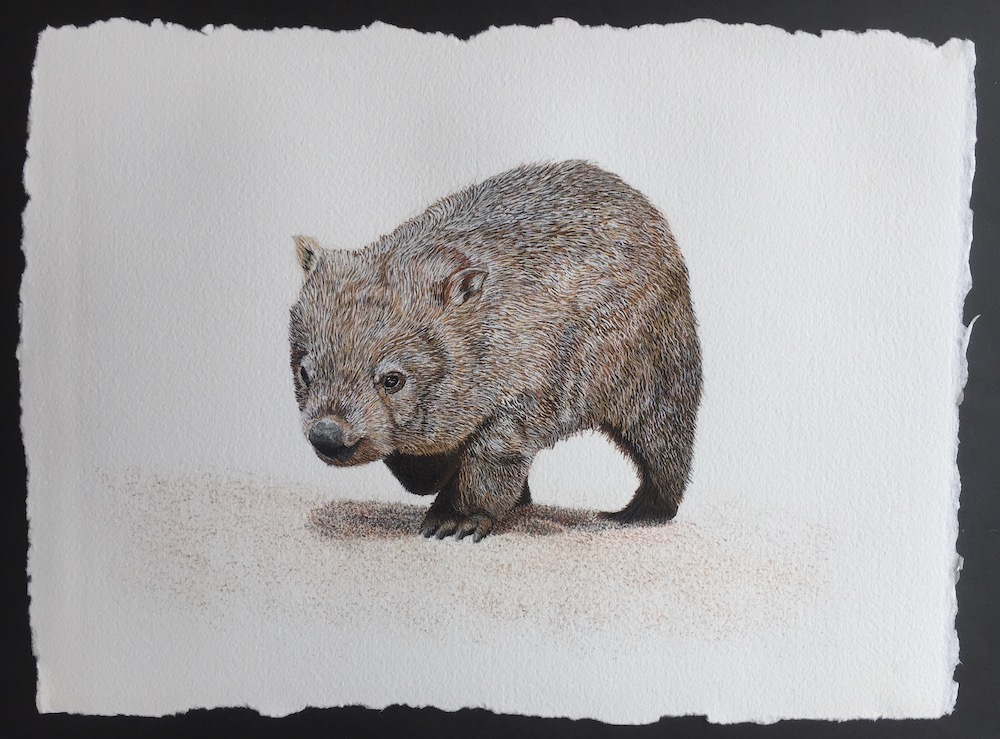
Now it’s a final check to add the detail, Creating a more convincing shadow on the ground that doesn’t darken the overall look of the painting.
A touch up of the nose, eyes and whiskers, these been very had paint with temperatures around 31 deg’s and the limited amount of paint drying on the brush.
A few days later I find out a long thin brush would have been much better for creating grass and whiskers as the water content caught higher up in the brush keeps the paint moist.
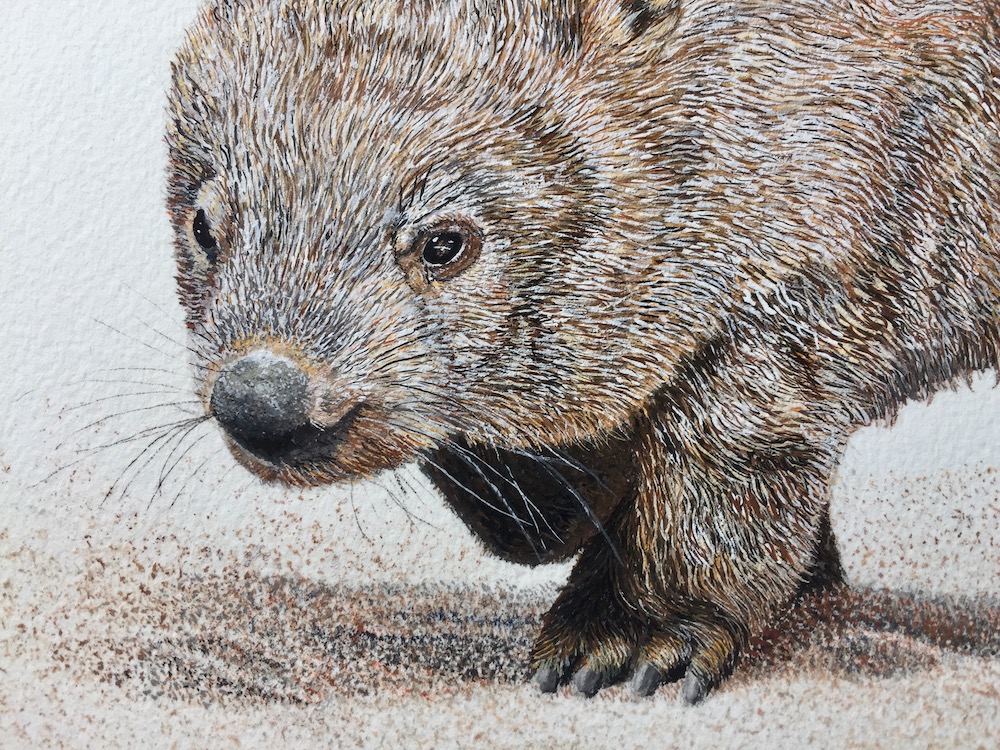
A close up detail of Burrows face.
As you can see there is lots of details and I must have reworked behind his nose about 4 times getting the colours right.
Gouache Colour Palette
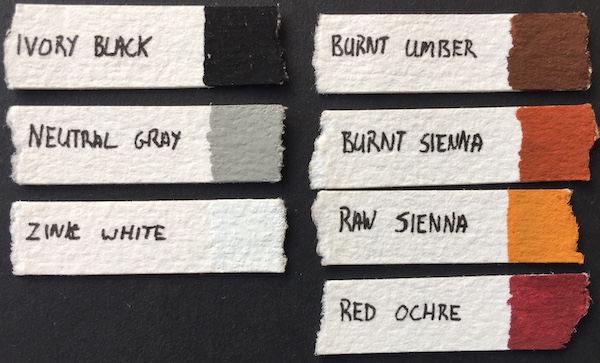
This was a very limited colour pallet, which I enjoy using and the more I paint Australian animals I’m finding that they have a similar base colour. Obviously the much more colourful birds and insects have a rainbow of colours, which makes painting them very enjoyable.
I use Winsor & Newton Gouache on Arches France Watercolour Paper, Cold Pressed.
My painting come from my own experiences that I have lived and photographed while traveling. By reading this blog, you as a viewer can now hear The Story Behind the Painting. Where, when, what was happening while I was photographing the wildlife.
If you want more details about my adventures checkout my travel blog website www.ChrisOsborneAdventures.wordpress.com
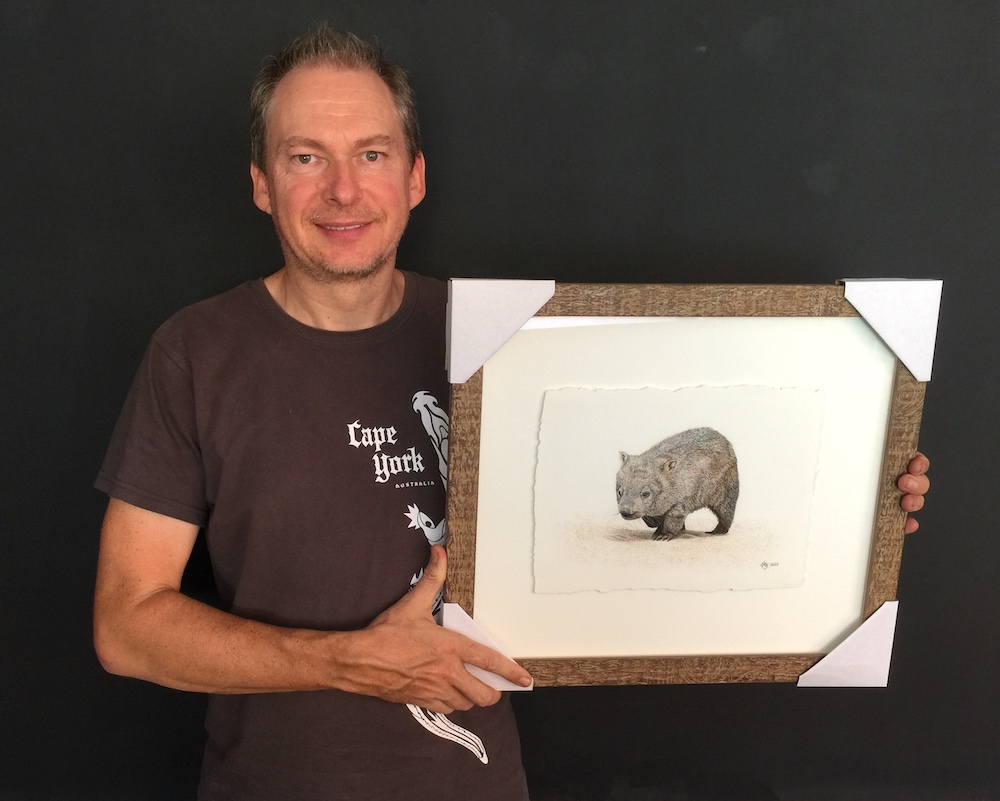
Enjoy, Chris Osborne
